Hey crafters! Ready to learn how to set up Cricut Explore Air 2 on laptop? If you’re new to this crafting machine, welcome. I am a full-time crafter working on my passion to create thousands of DIY projects for personal and professional use. How would you feel if I told you too can be like me and create anything you want? To learn it, let’s start from the basics. And the first step is to set up a Cricut machine. Only then can you make something stress-free on your own. Let’s get started with the procedure.
Step 1: Unpack the Cricut Machine Box
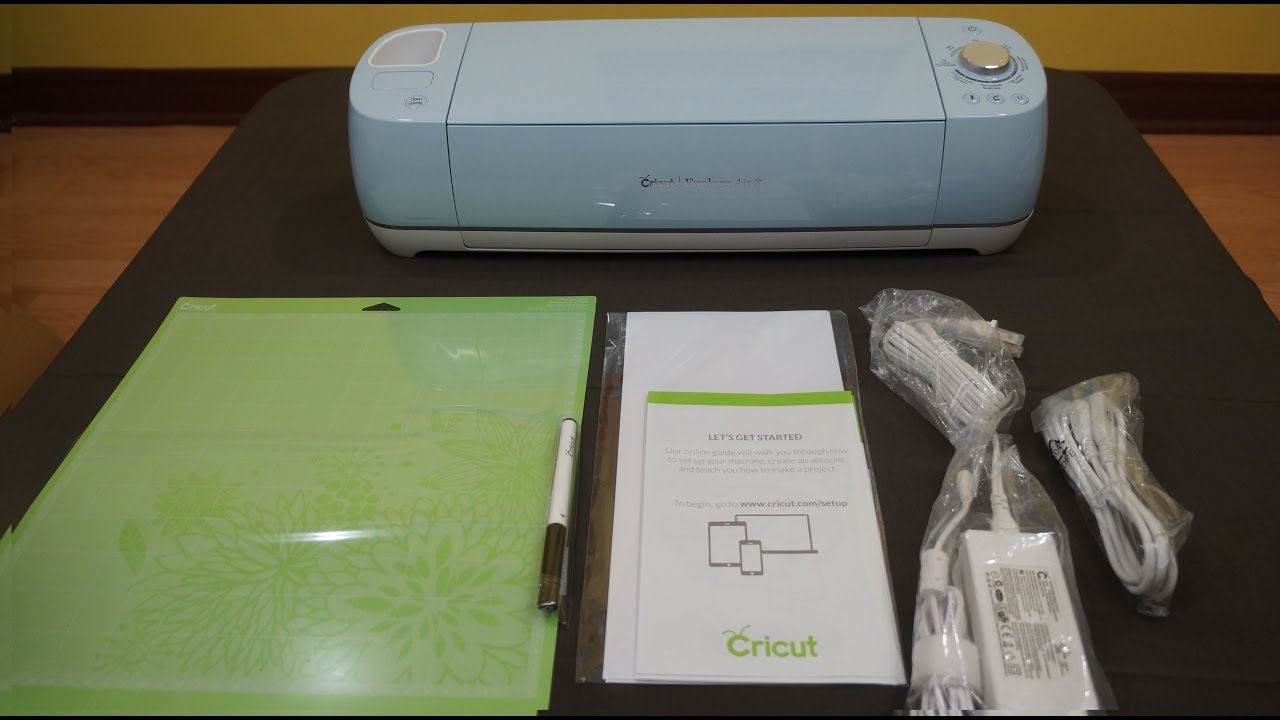
The first step toward the Cricut Explore Air 2 setup is to unbox the machine completely and check all the included accessories inside the box. This step is crucial so as not to miss anything important in the package. For instance, you’ll get a USB cord, power cord, and instruction manual to get started with your machine.
Step 2: Connect Your Cricut to the Power Supply
Once you’ve checked everything inside the machine’s box, you’re good to go to connect your Cricut machine to a power supply. This is how you’ll activate your Cricut cutting machine and allow it to be set up on a device easily. To learn how to set up Cricut Explore Air 2 on laptop, you have to download and install the Cricut app from cricut.com/setup.
Step 3: Download and Install Cricut Software
As you know, the Cricut Design app is essential for the setup of the Cricut machine. So, here are the steps to get it on your laptop or a PC to start the setup of your Cricut cutting machine.
- On your laptop, open an internet browser and navigate to cricut.com/setup.
- Then, search for the Cricut Design Space software.
- Now, hit the Download option and get the Cricut software.
- When you see a prompt to tick the terms and conditions box, check the box to accept them.
- When the software is downloaded on your device, find it under the Downloads folder.
- Then, once you find it, extract it by double-clicking on it.
- After that, allow the installation to run.
- Next, sign in to the Cricut ID using login details.
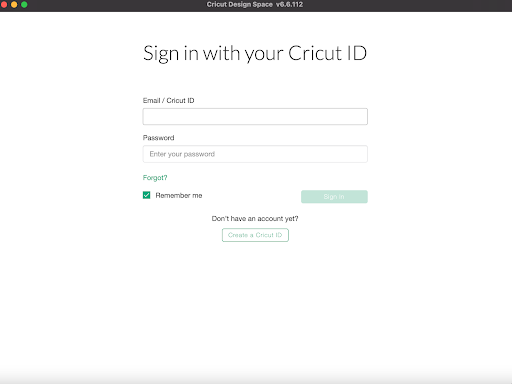
- If you’re a beginner, create a new Cricut account.
That’s it for the Cricut software download and installation on your laptop. Let’s move to the next step to learn more about how to set up Cricut Explore Air 2 on laptop.
Step 4: Setup the Cricut Machine on Your Laptop
This final step includes everything you need to finish the setup process. So, I’m choosing the Bluetooth connection to set up a Cricut cutting machine for a laptop. Let’s check the steps here.
- To start, ensure that the distance between your machine and laptop doesn’t exceed 10-15 feet.
- Then, make sure that the Bluetooth option is enabled on both devices.
- After that, open the Device Manager option.
- Go to the Start button, and when you get a list, select the Device Manager option.
- After that, head to the Devices under Settings.

- Here, you can turn on the Bluetooth option.
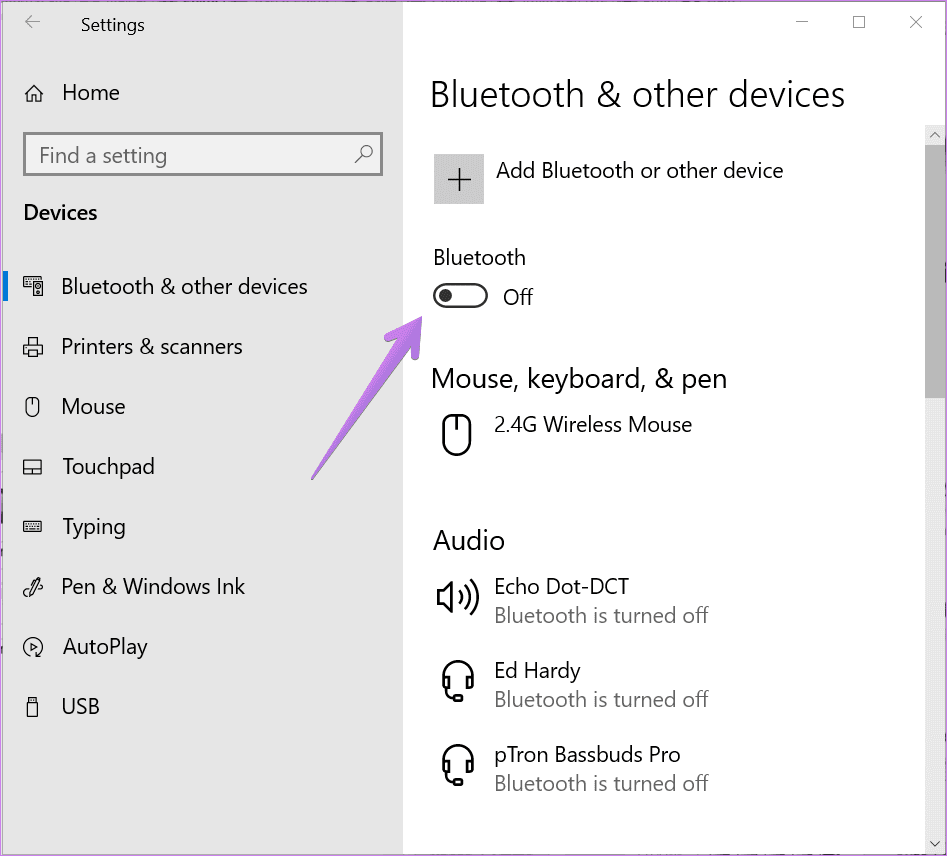
- Now, your laptop will start searching for all the available devices.
- You may get a prompt to enter the PIN, then enter “0000” and hit the Enter button.
- Next, open the Cricut Design Space and select the Cricut New Product Setup option.
- Finally, your machine will notify you that the connection has been built.
That’s it for the Cricut Explore Air 2 Bluetooth setup on a laptop. You can now start your first cut and enjoy your machine.
Step 5: Cut Your First Project
When you have finished the setup, you’re ready to start your first project with the ultimate Cricut Explore Air 2 machine. Luckily, the Cricut machine offers you sample materials to get the first cut. Utilize the accessories in a better way to create something on your own.
Conclusion
Finally, you have learned how to set up Cricut Explore Air 2 on laptop, and it’s time to take action. I want to tell you that you can select a USB connection as well if you’re not interested in a Bluetooth connection. But I prefer a wireless connection, so I tried to explain it to you all. When you know everything about the Cricut setup on your laptop, start the setup now and create your first cut.
FAQs
How to Setup Cricut Explore on Windows 10?
To set up a Cricut Explore machine on Windows 10, follow these steps.
- First, unbox your machine.
- Then, connect it to the power supply and turn it on.
- Now, connect the machine to Windows 10 via USB or Bluetooth.
- After that, open an internet browser and download the Cricut software.
- Next, install the software and open it.
- Also, sign in to your Cricut account.
- Finally, create your first cut with the machine.
How Do I Get Cricut Software on My Mobile Device?
To get the Cricut software on your mobile phone, follow these steps.
- To start, connect your machine to the power supply and turn it on.
- Then, connect your mobile phone to a Cricut product via USB or Bluetooth.
- Now, install the Cricut Design Space app on your mobile device.
- After that, open the software and sign in to your Cricut ID.
- Next, hit on the Machine Setup option.
- At last, continue with the on-screen prompts to finalize the setup.
How to Connect Cricut Machine to Mac via Bluetooth?
Here are the basic steps to add your Cricut to a Mac computer using Bluetooth:
- First, connect your devices to the power supply.
- Now, go to the System Preferences from the Apple menu.
- Then, you have to search for the Bluetooth option.
- After that, enable the Bluetooth option.
- Finally, your machine is set up on a Mac computer.